Step 1: Create a New Shape Layer
In your After Effects composition, create a new shape layer (Layer > New > Shape Layer).
In the shape layer, add a “Path” property (for example, by adding a “Shape” → “Path” under Contents).
Step 2: Add Slider Controls
To control the spiral, add the following slider effects to your shape layer (or to a null object if you prefer controlling multiple layers):
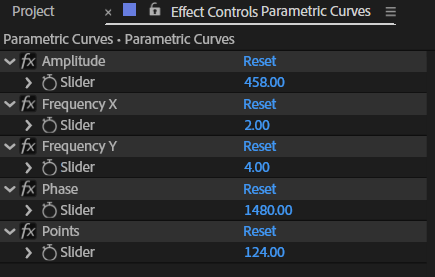
- Points – Total number of points in the spiral
- Start Radius – The radius (in pixels) at the spiral’s beginning
- End Radius – The radius (in pixels) at the spiral’s ending point
- Revolutions – The number of full rotations the spiral will make
- Rotation – A rotation offset (in degrees) to rotate the entire spiral
To add these controls:
With the shape layer selected, go to Effect > Expression Controls > Slider Control.
Rename each slider (e.g., “Points”, “Start Radius”, etc.) according to the list above.
Step 3: Apply the Expression to the Path Property
Alt/Option-click the stopwatch icon next to the “Path” property to open the expression editor. Then paste the following expression code:
// Expression for a shape layer's Path property to create a spiral

// Slider Controls (make sure these are added to your layer):
// "Points"        - Total number of points in the spiral
// "Start Radius"  - Radius at the spiral's starting point (in pixels)
// "End Radius"    - Radius at the spiral's ending point (in pixels)
// "Revolutions"   - Number of full revolutions in the spiral
// "Rotation"      - Rotation offset (in degrees)

var points = effect("Points")("Slider");            // Total points for the spiral
var startRadius = effect("Start Radius")("Slider");   // Starting radius in pixels
var endRadius = effect("End Radius")("Slider");       // Ending radius in pixels
var revolutions = effect("Revolutions")("Slider");    // Number of full revolutions
var rotation = effect("Rotation")("Slider");          // Rotation offset in degrees

// Enforce a minimum number of points to define a spiral (at least 2)
points = Math.max(points, 2);

var vertices = [];
var inTangents = [];
var outTangents = [];
var totalAngle = Math.PI * 2 * revolutions;           // Total angular distance

for (var i = 0; i < points; i++) {
    // Fractional progress from 0 to 1 along the spiral
    var t = i / (points - 1);
    // Linearly interpolate the radius between the start and end values
    var r = startRadius + t * (endRadius - startRadius);
    // Calculate the angle and add the rotation offset (converted to radians)
    var theta = t * totalAngle + degreesToRadians(rotation);
    var x = r * Math.cos(theta);
    var y = r * Math.sin(theta);

    // Add the computed point to arrays
    vertices.push([x, y]);
    inTangents.push([0, 0]);
    outTangents.push([0, 0]);
}

// Create an open path for the spiral (false)
createPath(vertices, inTangents, outTangents, false);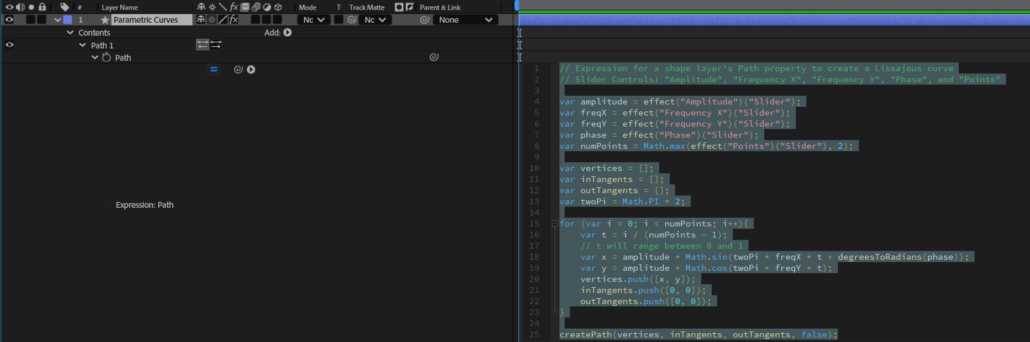
Step 4: Adjust and Animate
After pasting the expression, your shape layer will now display a spiral based on the slider values. You can:
Modify the “Points” slider to change the resolution of the spiral.
Adjust “Start Radius” and “End Radius” to control how tightly or loosely the spiral coils.
Change the “Revolutions” slider to add or reduce the number of full rotations.
Use “Rotation” to rotate the entire spiral if needed.
Animate any of these sliders over time to create dynamic motion in your composition.
Step 5: Preview and Fine-Tune
Scrub through your timeline or Preview your animation to see how the spiral evolves. Fine-tune the slider values until you achieve the desired look.
This tutorial demonstrates how expressions can be used to generate a parametric spiral while providing complete control over its parameters. Once you’re comfortable with this method, you can experiment with other parametric shapes (like stars, ellipses, or Lissajous curves) using similar logic.
Enjoy creating dynamic animations in After Effects!