Mixamo Rig Automation Workflow
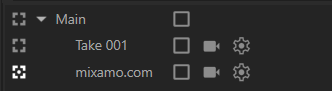
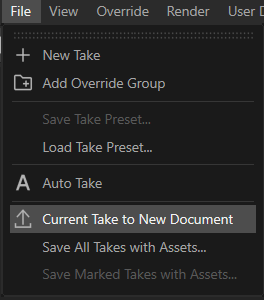
Isolate the Mixamo Take: Select the mixamo.com take in the Take System and execute “Current Take to New Document”. Close the original document without saving.
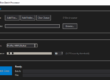
Offset the Animation: In the Dope Sheet, select all keyframes and shift them forward by one frame so that frame 0 is completely empty. Extend the document’s total timeline by one frame to compensate.

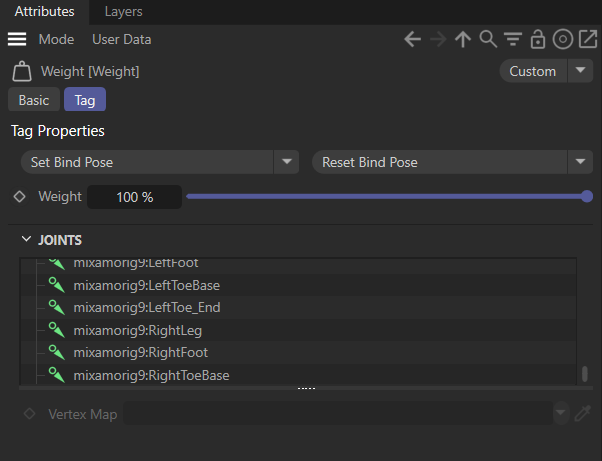
Reset the Bind Pose: Move the playhead to frame 0. Select any Weight Tag on the character’s geometry and click the “Reset Bind Pose” button. This forces the rig into a clean T-Pose.
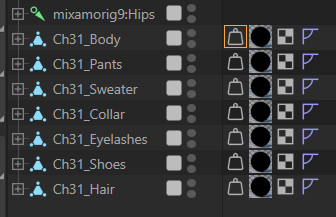
Merge the Geometry: Select all separate mesh objects (body, clothing, etc.) and run the “Connect Objects + Delete” command to combine them into a single mesh.
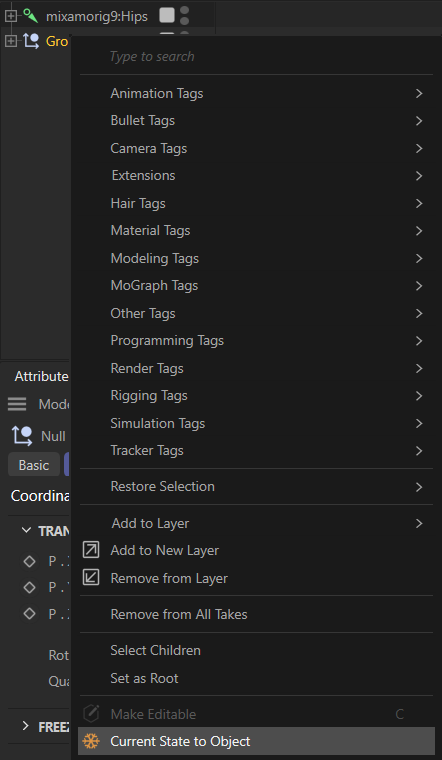
Reapply the Skin Deformer: Create a new Skin Object and place it as a child of the newly merged character geometry.

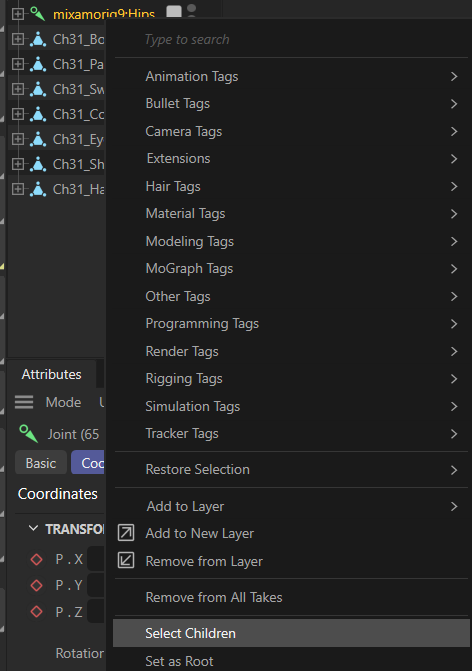
It is important that we select all children under joints object group.
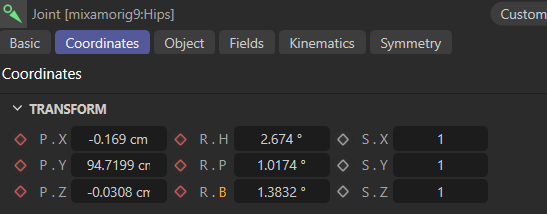
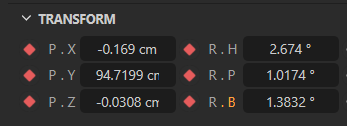
Then we need to add keyframe by clicking on red diamond icons.
Clean Joint Names: Iterate through the joint hierarchy and remove the numeric suffixes generated by Mixamo (e.g., rename mixamorig9:Hips to mixamorig:Hips).
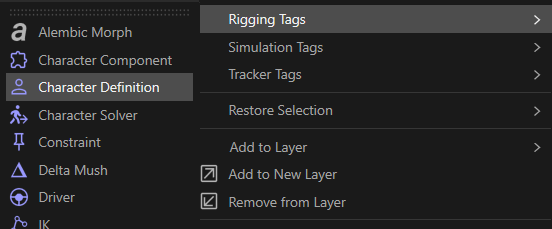
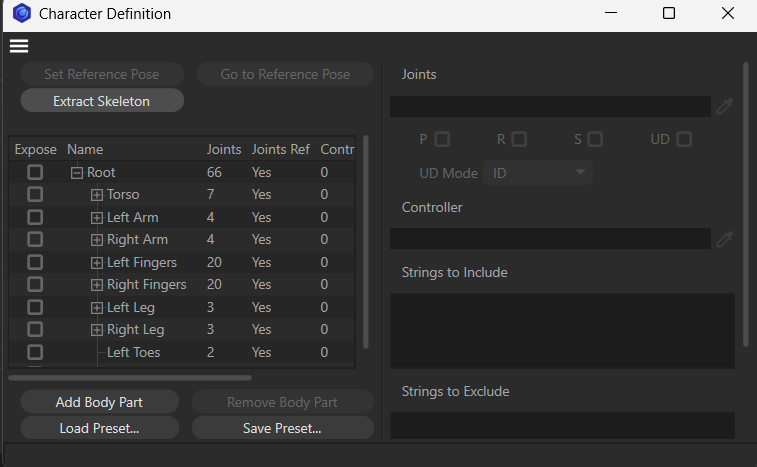
Define the Character: Add a Character Definition Tag to the root joint. Execute the “Extract Skeleton” command, followed by the “Set Reference Pose” command to lock in the T-Pose.
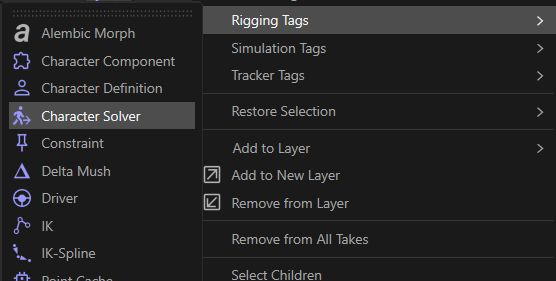
Add the Solver: Apply a Character Solver Tag to the root joint to enable retargeting with standard motion capture data.
Loop the Animation Tracks: Select the joint animation tracks, set the “Track After” property to “Repeat”, and set the repetitions to 3.